
AI PDF Chat & Independent PDF Tools Guide

iLovePDF Images

  • How to Add Images to PDF Files

    How to Add Images to PDF Files

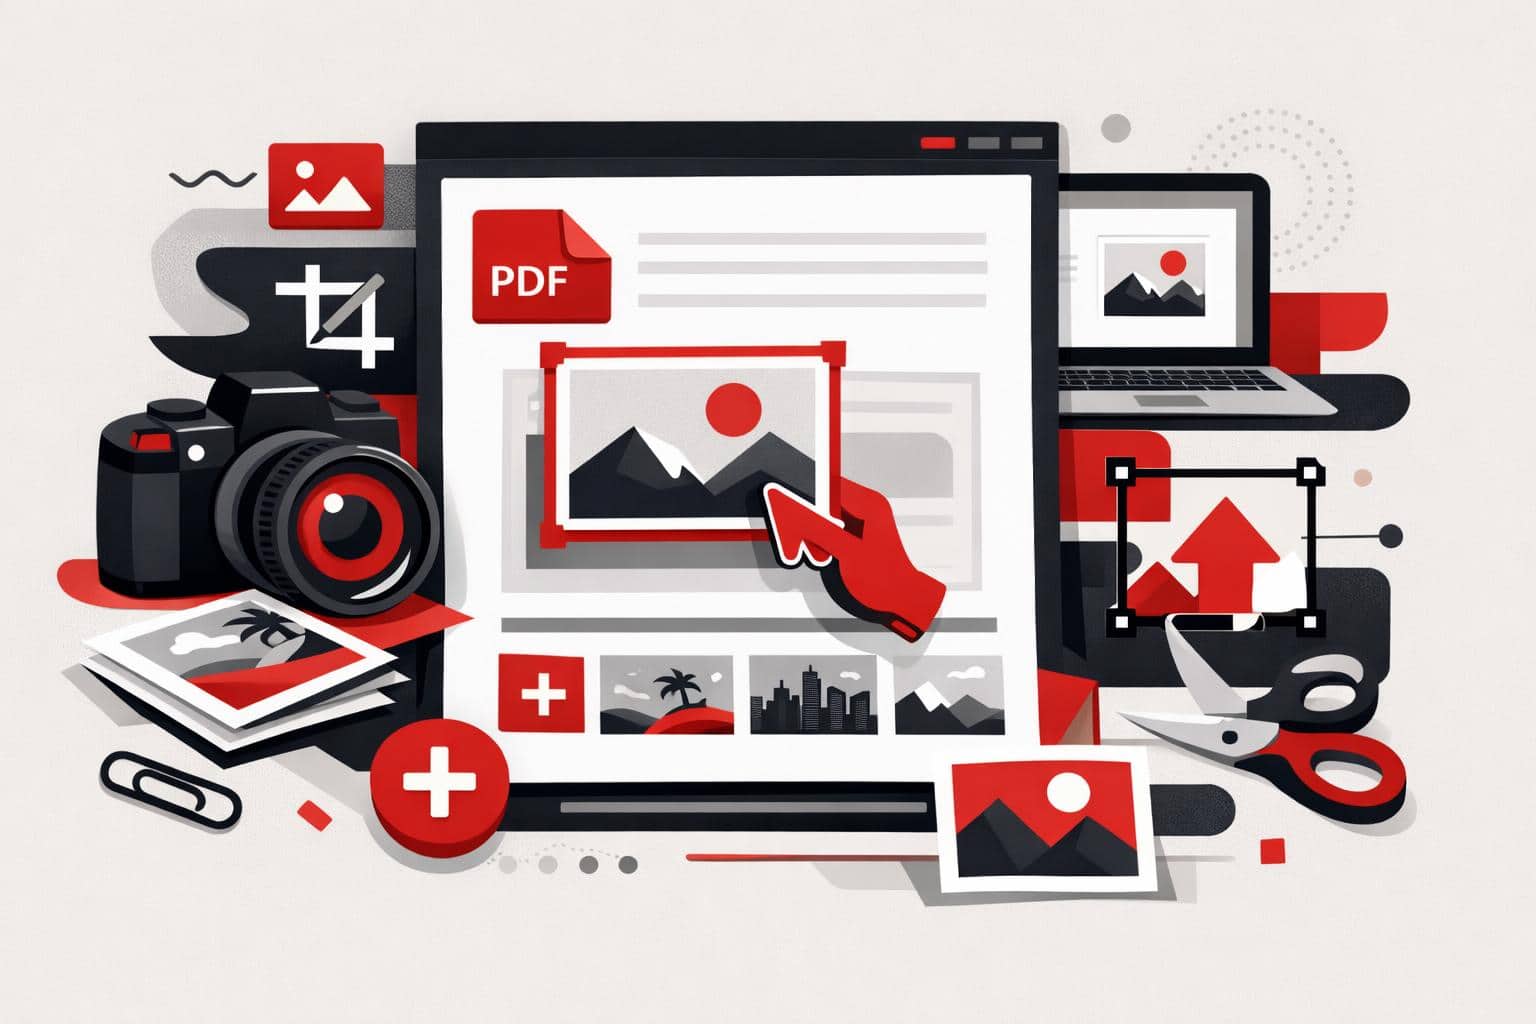
    The fastest way to add a picture to an existing PDF is to use a PDF editor, upload the document, choose an image, place it on the page, then export the updated file. With iLovePDF Edit PDF, this can be done online without printing, scanning, or returning to the original Word, PowerPoint, or design file.

    Why adding images to PDFs still matters

    PDFs remain the default format for forms, contracts, school submissions, invoices, reports, and official evidence files. A photo, logo, signature image, receipt scan, product shot, or ID image often needs to be added after the PDF has already been created.

    The old workaround was slow, print the document, attach or paste the image, scan the page again, then hope the quality stayed readable. A browser-based PDF editor removes that loop by letting the image sit directly on top of the existing page content.

    A practical example, a tenant can open a completed maintenance request, add a photo of water damage on the correct page, resize it beside the written description, then send one clean PDF to the property manager.

    How to insert an image into a PDF

    The basic workflow is simple. Open the editor, upload the PDF, add the image, adjust its position, then process and download the final document.

    • Open iLovePDF Edit PDF.
    • Select a PDF from the device, or import it from Google Drive or Dropbox if those options are available in the upload panel.
    • Choose the image tool from the editor toolbar.
    • Upload the picture that should appear in the PDF.
    • Drag the image to the right place on the page.
    • Resize it by pulling the corner handles until it fits the layout.
    • Process the PDF and download the edited file, or save it back to cloud storage.

    The decision rule is straightforward, use direct PDF editing when the PDF layout is already final and only needs a photo, logo, stamp, or visual proof. Go back to the source document only when the text structure, page order, or design grid needs major changes.

    Supported image formats and preparation

    The editor is designed for common web image formats, especially JPG, PNG, and GIF. JPG is usually best for photos, PNG works well for screenshots and logos with clean edges, and GIF can be useful for simple graphics.

    If the image is in a less convenient format, convert or clean it up before adding it to the PDF. For image editing tasks such as cropping, color correction, contrast, or saturation, a separate tool such as the iLoveIMG Photo Editor is better suited because those changes affect the image itself, not just its placement in the PDF.

    A simple market model helps separate the job into three layers, file, layout, and trust. File means using the right format, layout means placing the picture cleanly, and trust means keeping the document readable, professional, and secure.

    Control size, layers, rotation, and transparency

    Adding one image is easy, but multi-image PDFs can become crowded quickly. The editor’s layer panel helps manage the order of objects, so one photo can sit above another, or a visual element can move behind text and shapes.

    Layering matters when several visuals share the same page. A company could place a product image first, move a semi-transparent approval stamp above it, then add a small logo in the corner without disrupting the whole document.

    Rotation fixes pictures that were captured in the wrong orientation. Select the image, then use the rotation controls to turn it clockwise or counterclockwise until it matches the page.

    Transparency controls how strongly an inserted image appears. Lower opacity can make a picture behave like a watermark, while full opacity is better for evidence photos, product images, and screenshots that must stay sharp.

    Security, mobile use, and offline editing

    Documents that contain IDs, financial details, contracts, or medical information should be handled with extra care. According to the iLovePDF security page, the service uses HTTPS encryption, describes end-to-end encryption for processed files, and says processed files are automatically deleted within two hours.

    For sensitive workflows, offline editing can be the safer default because the file stays on the computer during processing. iLovePDF also offers iLovePDF Desktop, which is aimed at local document work and privacy-focused processing.

    Mobile editing is useful when the image already lives on a phone. The iLovePDF Mobile apps support PDF editing, scanning, signing, file management, and document sharing from iOS and Android devices.

    Quick answers

    Can images be added to a PDF for free?

    Yes, iLovePDF offers free access to many PDF tools, including editing features. Premium plans are intended for heavier use, advanced functions, and larger workflows.

    Which image type should be used?

    Use JPG for normal photos, PNG for logos or screenshots, and GIF for simple graphics. If the picture needs correction first, edit the image before importing it into the PDF.

    Can an image be resized after insertion?

    Yes. Select the image and drag the corners to scale it. Keep proportions consistent if the image contains faces, logos, signatures, or product details.

    Can the image be placed behind another object?

    Yes. Use the layer controls to move the image forward or backward in the page stack. This is useful for stamps, watermarks, logos, and overlapping visuals.

    Is mobile editing practical?

    Yes, especially for receipts, field photos, school paperwork, and quick signatures. Desktop editing is still better for complex pages, large files, or sensitive business documents.
  • Convert PNG Images to PDF for Easy Sharing

    Convert PNG Images to PDF for Easy Sharing

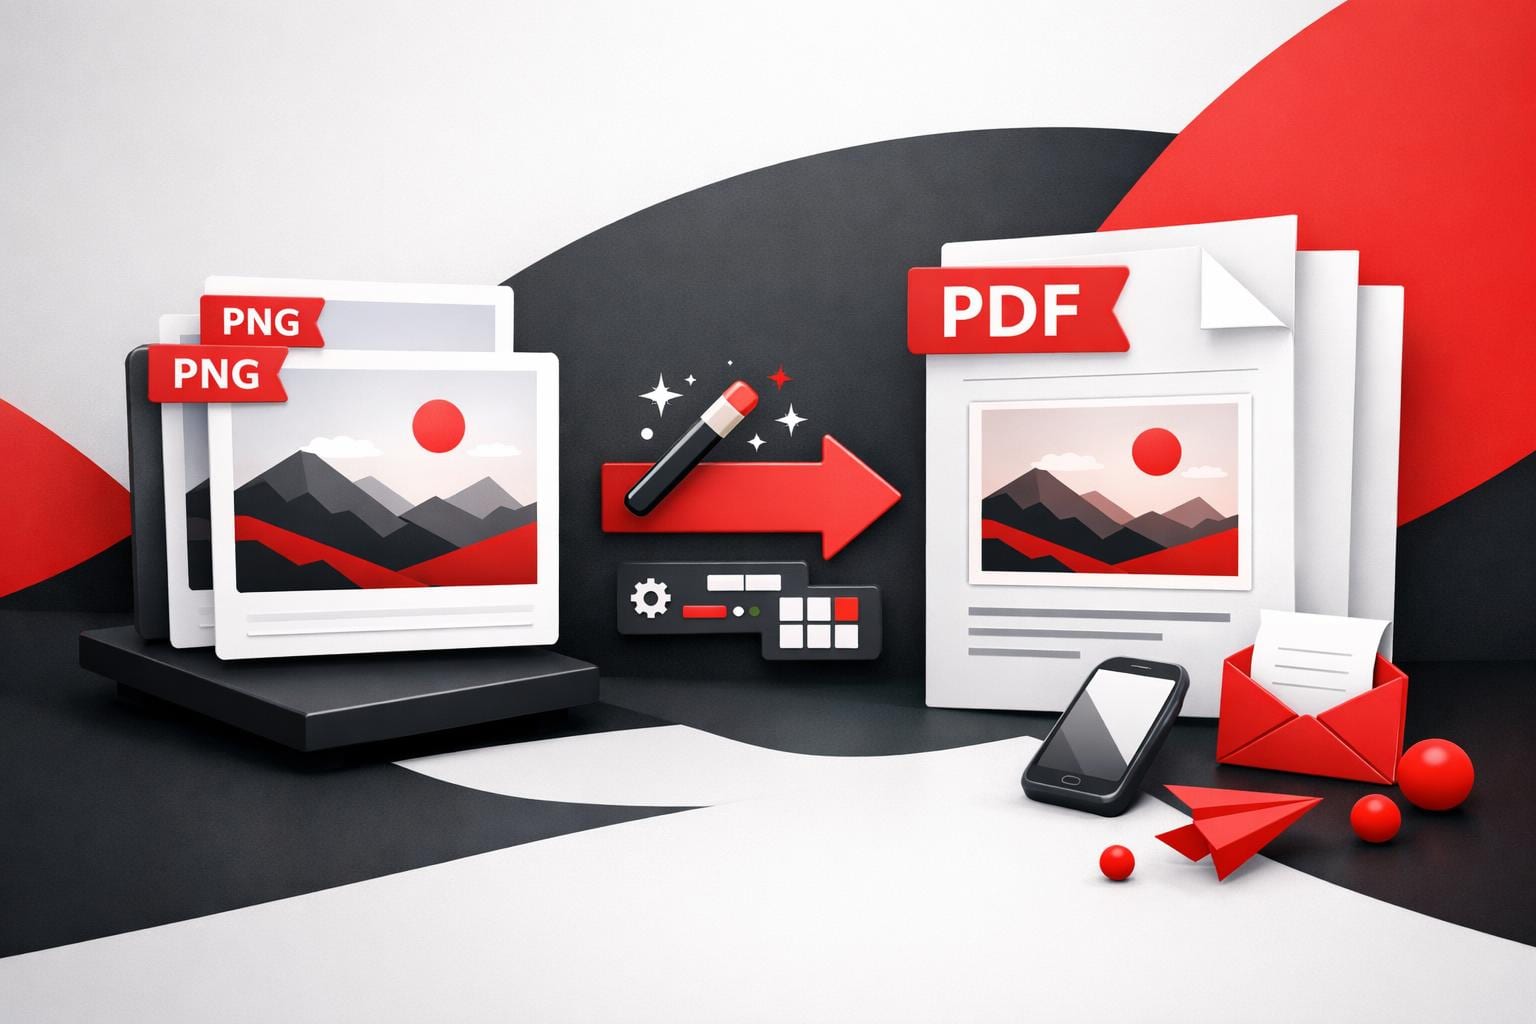
    To convert a PNG to a PDF online, upload the image to an image to PDF converter, choose page size and layout settings, then export the PDF. The main payoff is simpler sharing and printing, plus the option to apply PDF security controls when the file contains sensitive content.

    Why a PDF can be the smarter wrapper

    PNG, short for Portable Network Graphics, is a raster image format designed for crisp visuals, lossless compression, and transparency, which is why it shows up everywhere in UI mockups and web graphics. The catch is that PNG is still “just an image”, so recipients often treat it like a photo instead of a document, which can mean awkward printing, inconsistent page sizing, and messy email threads with multiple attachments.

    A PDF behaves more like a universal container. It typically opens the same way across devices, it is easier to store as a single multi page file, and it fits standard document workflows like page based review, printing, and archiving, including PDF/A for long term preservation.

    • Compatibility, one file that behaves like a document.
    • Control, predictable pages, margins, and orientation for printing.
    • Compliance, clearer paths to password protection and retention policies.

    How to convert PNG to PDF online

    iLovePDF routes PNG conversions through its Image to PDF workflow, which is presented on the JPG to PDF tool page. Start with the tool, add the PNG, confirm layout settings, then generate the PDF.

    Tool entry point: iLovePDF JPG to PDF.

    • Step 1 Upload the PNG, or drag and drop it into the tool.
    • Step 2 Pick Portrait or Landscape, based on how the image should sit on the page.
    • Step 3 Choose page size, typically Fit, A4, or US Letter.
    • Step 4 Set margins, then convert and download the resulting PDF.

    Decision rule: if the PDF is meant for viewing and exact pixel framing matters, select Fit. If the PDF is meant for printing or signing, select A4 or US Letter and use a small margin to reduce the risk of edge cropping by printers.

    Practical example: a designer needs stakeholder sign off on 12 transparent PNG UI screens. Export each screen as a PNG, upload all 12 images, enable merging into one PDF, set page size to Fit, then send a single PDF that reviewers can annotate and print without dealing with separate image files.

    How many images can be converted at once

    Batch conversion is supported, and the effective limits depend on the account tier. The pricing page lists Image to PDF limits for free and paid plans, and iLovePDF’s PNG specific guide describes the same conversion flow and the typical free versus Premium batch sizing. For details, see iLovePDF Pricing and the guide How to convert PNG images to PDF online.

    Plan Images per batch Total upload size per batch
    Free Up to 20 Up to 40 MB
    Premium Up to 80 Up to 4 GB

    The same Image to PDF converter is positioned to handle more than PNG. Supported inputs commonly include PNG, JPEG, TIFF, SVG, BMP, IMG, RAW, HEIC, and WebP, which matters when a workflow mixes screenshots, camera photos, and exported design assets.

    Security and retention, what to check before uploading

    Any online converter is a data transfer decision. According to iLovePDF, uploads are protected with end to end encryption, and files processed by the platform are automatically deleted within two hours, with additional detail in its security documentation. Reference: iLovePDF Security and Data Protection.

    For sensitive documents, a PDF can also be locked after conversion. iLovePDF provides a dedicated password encryption tool at Protect PDF, and a step by step explanation in How to add a password to a PDF.

    If an organization needs formal assurance, iLovePDF also publishes an ISO/IEC 27001 certificate PDF. Reference: ISO/IEC 27001 certificate.

  • Converting JPG to PDF Without Losing Quality

    Converting JPG to PDF Without Losing Quality

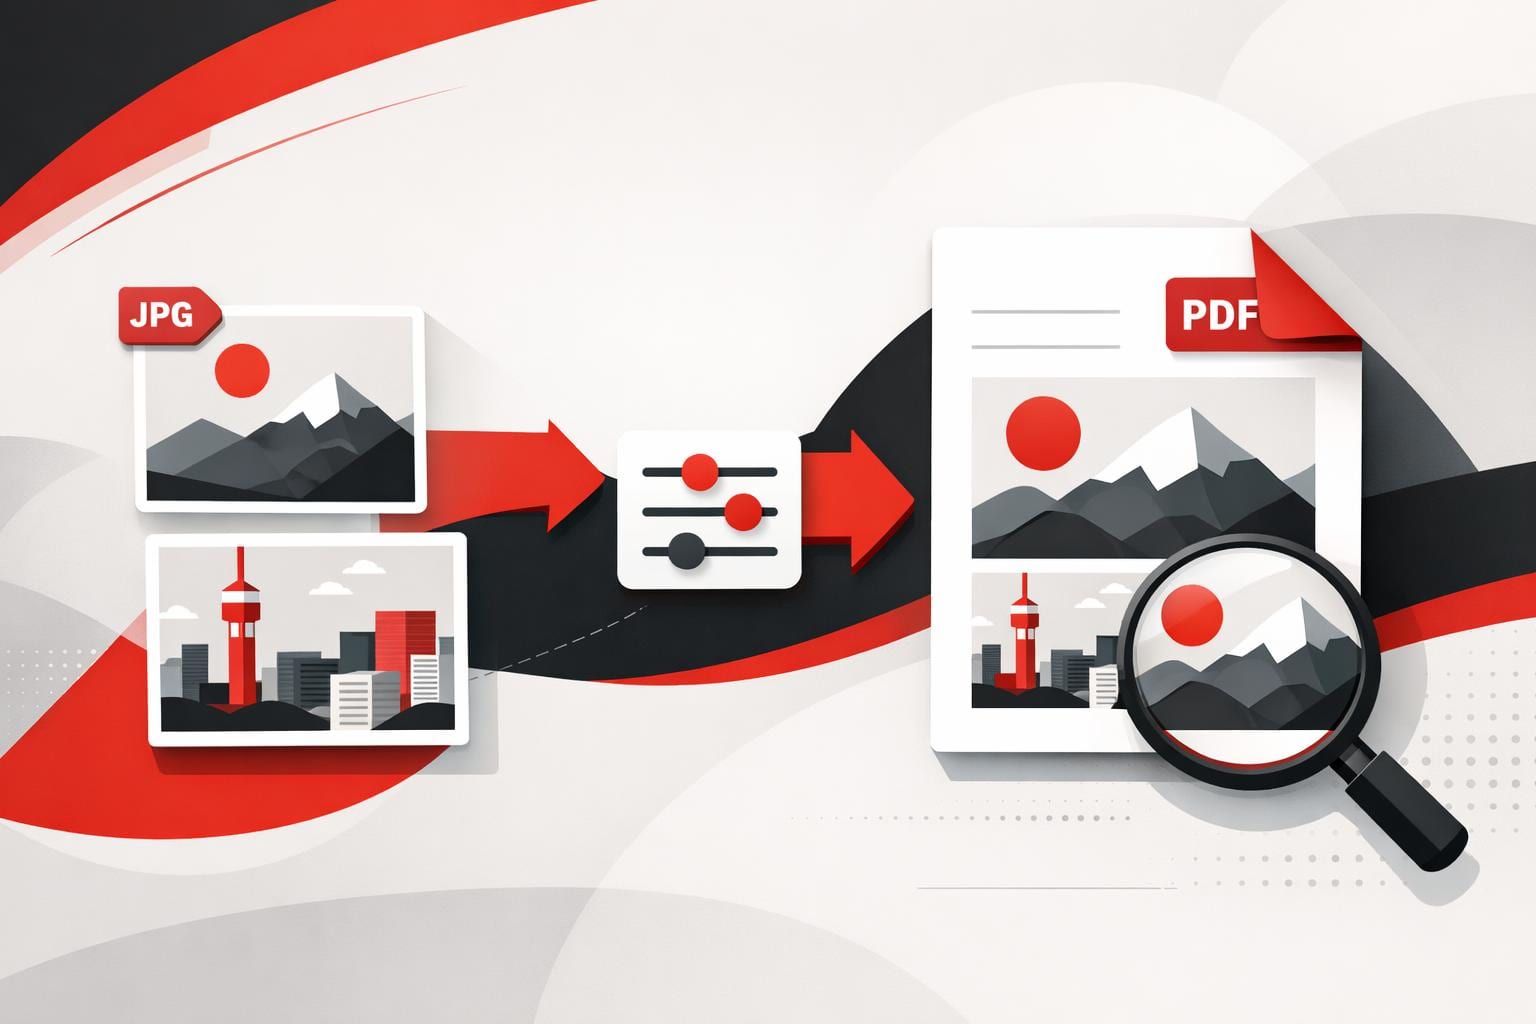
    To convert a JPG into a clean, shareable PDF, the fastest path is an online converter that turns each image into a PDF page and optionally merges multiple photos into one file. PDF is usually the right output when the file must print predictably, look identical on any device, or travel as a multi-page document.

    Why PDFs Become the Default for Sharing

    PDF has become the unofficial “paperless paper” because it is designed to preserve layout. Fonts, spacing, and page breaks stay consistent across operating systems and apps, which is exactly what teams want when exchanging contracts, invoices, reports, and forms.

    A JPG is a picture. A PDF is a document container, it can hold many pages and mix text, images, and vector elements. That difference is why “send it as a PDF” is common in business workflows.

    JPG and PDF Are Built for Different Jobs

    Neither format is “better” in general. Each is optimized for a different delivery goal, and that goal determines what users experience when the file is opened, printed, or uploaded.

    What matters JPG PDF
    Primary purpose Fast photo sharing and web display Reliable document viewing, printing, and archiving
    Layout consistency Depends on where the image is placed Designed to keep pages stable across devices
    Multi-page packaging Not native, each image is a separate file Native, one file can contain many pages
    Print readiness Often requires manual sizing and margins Page size and margins are first-class settings
    Searchable text No, it is pixels Yes if the PDF contains text, or after OCR
    Typical file size behavior Usually small for a single photo Efficient for multi-page sharing, can grow with high-resolution images

    A Simple Rule That Prevents Format Mistakes

    Decision rule: if the recipient expects pages, printing, or a single attachment containing multiple images, choose PDF. If the goal is a single image for a website, chat, or quick preview, keep it as JPG.

    A practical way to choose is the SPF test, a three-factor mini-model for file decisions.

    • Speed: pick JPG when load time and lightweight sharing dominate.
    • Print: pick PDF when page size, margins, and predictable output matter.
    • Filing: pick PDF when many images must travel as one organized document.

    A Tidy Conversion Workflow That Scales

    Many converters do the same core job: import images, map each image to a page, and export a PDF. The details that matter are page size, orientation, margins, and whether multiple images are merged into a single file.

    Steps that match what most tools expose

    • Open a JPG to PDF converter, for example the iLovePDF JPG to PDF tool.
    • Upload one image or a batch of images.
    • Set page orientation to Portrait or Landscape.
    • Pick a page size that matches the destination, such as Fit, A4, or US Letter.
    • Choose margins, typically No margin, Small, or Big.
    • If a single combined file is needed, enable merging so the output is one multi-page PDF.
    • Convert, then download the result.

    Concrete example that saves time

    A finance team needs one attachment for an expense report. Eight phone photos of receipts can be uploaded together, set to US Letter with small margins, merged into one PDF, then emailed as a single file instead of eight separate JPGs.

    When the goal is selectable text

    Converting a photo into a PDF does not automatically create real text, it mostly changes the container. For searchable text, run OCR after conversion using an OCR tool such as iLovePDF OCR PDF, which attempts to recognize characters and embed a text layer.

    Large batches and repetitive work

    When volume becomes the problem, the differentiator is processing limits and batch handling. According to the company’s pricing page, Premium is listed at $9 billed monthly or $60 billed annually, equivalent to $5 per month, as of March 28, 2026, and it is positioned for unlimited processing and broader access across web, desktop, and mobile.

    For an alternative converter option, Adobe Acrobat’s online JPG to PDF tool also provides browser-based conversion.

    The Privacy Checks Worth Doing First

    Online conversion is convenient, but it is still an upload. Before sending anything confidential, check the service’s retention window, encryption claims, account controls, and whether local processing is available.

    • Retention: the company states that files are deleted within two hours after processing, and signed documents can be retained for up to five years for legal reasons.
    • Encryption and access controls: the company describes HTTPS protection and end-to-end encryption, plus account features such as two-factor authentication.

    These details are outlined on the company’s Security and data protection page.

    Decision rule for sensitive files: if the document contains regulated or high-risk data, prefer local processing over a browser upload when possible. The company markets local processing via its Desktop app for workflows that prioritize keeping files on the device.